Neapolitan pizza (Pizza Napoletana) is a traditional Italian pizza that originated in Naples. Known for its soft yet chewy crust, airy outer edge, and minimalist yet rich toppings, it’s been recognized by UNESCO as part of the world’s intangible cultural heritage. To recreate this pizza authentically, every step must be precise—from ingredient selection to dough fermentation, shaping, topping, and baking.
I. Ingredient List and Precision Ratios (Per 4 pizzas)
| Ingredient | Quantity |
|---|---|
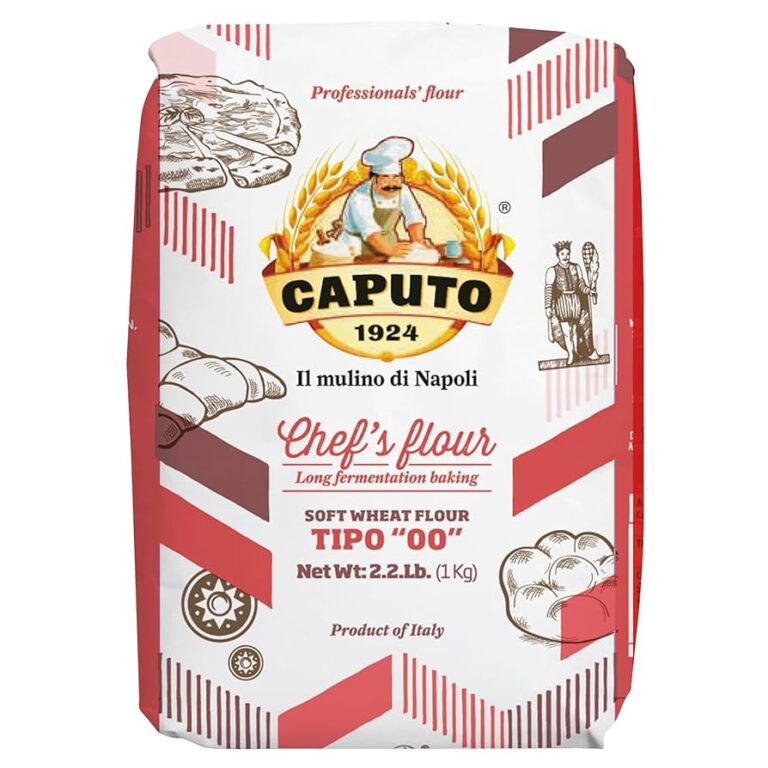
| Type 00 flour (e.g. Caputo) | 620g |
| Water (at 20–22°C) | 390ml (63% hydration) |
| Sea salt | 18g |
| Fresh yeast | 1.5g (or 0.5g dry yeast) |
- Why 00 Flour? Its fine grind and moderate protein (11–12%) make it ideal for high-temp bakes and delicate dough stretching.
- Why 63% hydration? Offers the best compromise between stretchability and structure, especially under high heat.
II. Dough Making Process
Step 1: Dissolve Salt and Yeast
- Dissolve 18g salt in 390ml water.
- Add 1.5g fresh yeast (or 0.5g dry yeast). Stir until fully dissolved.
Step 2: Incorporate Flour
- Gradually mix in flour in two stages.
- Mix by hand until it forms a shaggy dough.
Step 3: Kneading
- Knead for ~10 minutes until dough becomes smooth and elastic.
- Alternatively, use “stretch and fold” with 3 sets at 15-minute intervals.
Step 4: Bulk Fermentation
- Let dough rest in covered container for 2 hours at room temperature (20–22°C).
Step 5: Divide & Cold Proof
- Divide into 4 equal dough balls (230–250g).
- Store in dough boxes or containers with lids.
- Cold ferment at 4°C for 24–72 hours.
- Bring to room temp 2 hours before use.
Pro Tip: Use clear fermentation containers to track gas buildup and dough expansion.
III. Sauce and Toppings
Sauce (Raw, Uncooked)
- 1 can San Marzano tomatoes
- Pinch of salt, drizzle of extra virgin olive oil
- Crush gently by hand. No cooking required.
Cheese
- Use mozzarella di bufala or Fior di Latte
- Drain 30 mins before use to avoid sogginess
Others
- Fresh basil leaves
- Extra virgin olive oil (for finishing)
Optional Add-ons: Anchovies, Grana Padano, chili oil
IV. Dough Shaping
- Lightly flour surface.
- Press from center outward with fingertips.
- Leave ~2cm rim untouched to preserve air.
- Final shape: 30cm diameter, <3mm center thickness.
Never use a rolling pin. It deflates the crust and ruins texture.
V. Assembly (Quick & Efficient)
- Place dough on floured peel.
- Add ~60g tomato sauce evenly.
- Add mozzarella, basil.
- Drizzle with olive oil.
Complete in under 60 seconds to avoid sticking or soggy dough.
VI. Baking (Where Magic Happens)
| Factor | Pizza Oven | Home Oven (w/ Stone) |
| Temp | 450–500°C | 250–300°C |
| Time | 60–90 seconds | 6–8 minutes |
| Fuel Type | Wood/Gas/Hybrid | Electric/Gas |
Baking Tips:
- Preheat oven for 20+ minutes
- Use infrared thermometer to check stone temp (~450°C)
- Rotate every 20s to achieve even char (“leopard spotting”)
VII. Advanced Fermentation Theory
- Cold fermentation slows yeast, enhancing sugar development and flavor.
- Long ferment = more digestible dough and better blistering.
- In summer, reduce yeast by half or stick to full cold fermentation.
VIII. Alternative Cheeses & Styles
| Cheese | Characteristics |
| Mozzarella di Bufala | Creamy, high-moisture |
| Fior di Latte | Cow’s milk, firmer, less watery |
| Scamorza | Smoked and firm |
| Stracciatella | Great post-bake topping |
IX. Optional Tools
- Pizza steel or stone
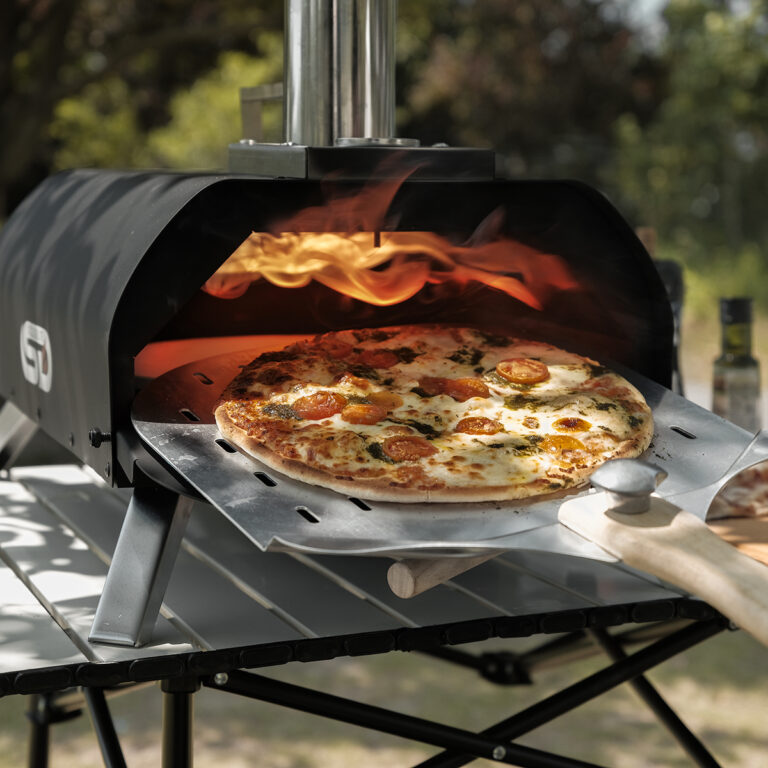
- Portable outdoor pizza oven like the SizzleDelite Ember 12 outdoor wood fired pizza oven, which is ideal for high-heat Neapolitan baking in backyards or camping settings.
- Turning peel (preferably made of lightweight aluminum alloy for better durability and more flexible operation)
- Dough tray
- Infrared thermometer
- Bench scraper
X. Troubleshooting
Dough Tears Easily
- Under-kneaded or low hydration
Flat Crust
- Overworked edges or under-proofed dough
Wet Center
- Too much sauce or wet cheese
Won’t Slide Off Peel
- Use semolina/cornmeal, launch quickly
Crust Too Pale
- Stone not hot enough or short fermentation
XI. Nutritional Facts (Per 12″ Margherita)
| Metric | Amount |
| Calories | ~750 kcal |
| Protein | ~25g |
| Carbs | ~95g |
| Fat | ~30g |
Health Tip: Try whole wheat 00 flour or reduce cheese for lighter version
XII. Timeline Summary
| Task | Duration |
| Dough prep | 30 mins |
| First proof | 2 hours |
| Cold proof | 24–72 hours |
| Preheat & shape | 30 mins |
| Bake | 60–90 seconds |
(FAQ)
Q1: Can I use all-purpose flour instead of 00 flour?
Yes, but expect a different texture. All-purpose flour lacks the elasticity and stretch of 00 flour, resulting in a stiffer crust and reduced chewiness.
Q2: Why did my dough not rise properly in the fridge?
Your fridge might be too cold (<3°C), or your yeast was inactive. Always proof yeast in warm water before using, and avoid overcooling.
Q3: My pizza sticks to the peel. What can I do?
Dust your peel with semolina or rice flour and launch quickly after topping. Letting dough sit too long on the peel causes it to stick.
Q4: What oven temperature is ideal for Neapolitan pizza at home?
Try to reach at least 260–300°C (500–570°F) using a pizza stone or steel. Preheat for at least 30–45 minutes.
Q5: Can I freeze the dough?
Yes. Freeze individual dough balls after the first rise. Thaw overnight in the fridge and bring to room temperature before use.
Q6: My crust is too pale even after baking—why?
Under-fermentation or low oven temp are common causes. Ensure long cold fermentation and confirm stone temp is ~450°C.
Q7: Why does my pizza taste sour or alcoholic?
Usually from overfermentation. Stick to recommended yeast amounts and avoid exceeding 72 hours of cold proof.
Q8: Can I use pre-shredded mozzarella?
It’s not recommended. Pre-shredded cheese contains anti-caking agents that resist melting. Use fresh mozzarella and drain well.
Q9: Can I use tomato paste or cooked sauce?
Traditional Neapolitan pizza uses raw crushed tomatoes. Cooked sauces change the flavor and reduce freshness.
Q10: Is a pizza oven necessary?
Not strictly, but highly recommended. A high-heat pizza oven like the SizzleDelite Ember 12 gives you authentic char and a perfect 90-second bake outdoors.
XIII. Final Thoughts
Neapolitan pizza isn’t just food—it’s a craft. Every decision, from hydration percentage to oven heat, contributes to the final product. Mastering it means respecting tradition while understanding the science behind it. This guide gives you both.
Now go make something extraordinary.